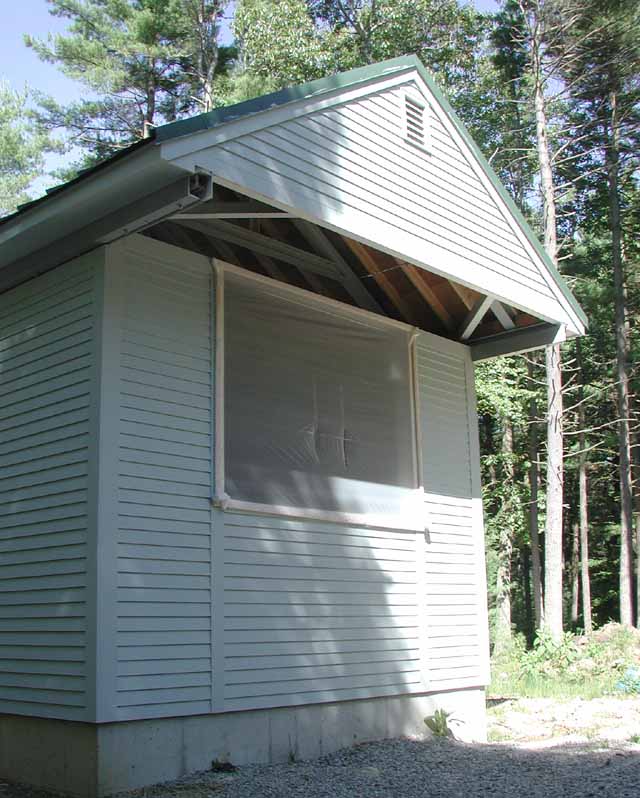
Wide-Angle View -- Northwest
Here's a shot made with real film (Fuji NHG-II), in a real camera (Mamiya 7: 6x7 cm),
with a real lens (50 mm, very wide angle, accurate rectilinear)!  (We don't do that much,
anymore.)  You can see the overall interior arrangement in this shot, looking generally
northwest: Pier, control room, roll-off roof. (click on image for a giant shot - 750kB)
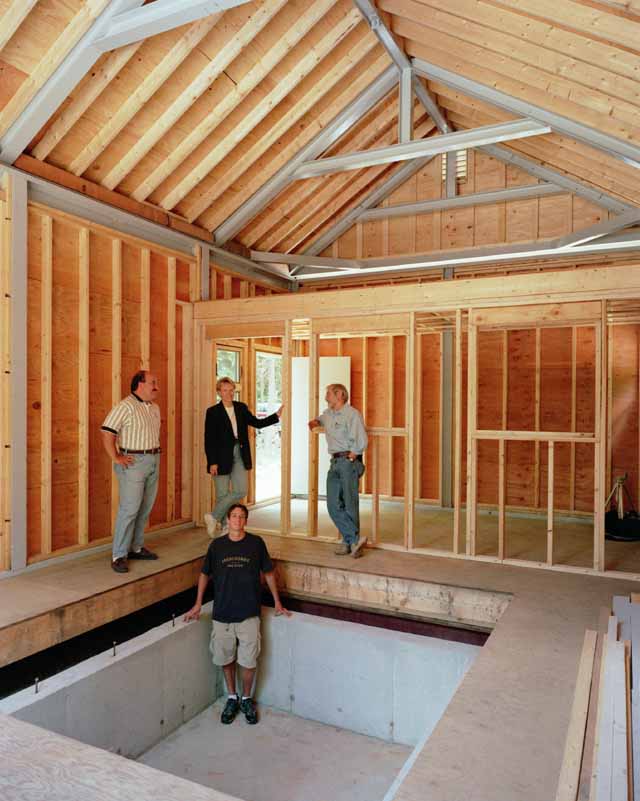
Wide-Angle View -- South
And here's the companion shot looking south, through the virtual door, from the
control room.  The panel beneath the south-facing aperture is removable, so we can
bring large objects (like telescopes) in with the overhead crane (which is also
called the roof).  The pier area looks threatening, with nothing in it; but when
holding the telescope and mount, and with a protective skirt around it, the place
will be cozy.  Note the steel wind-braces on either side of the aperture, so the
thing will stay together with all panels removed. (click on image for a giant
shot - 750kB)
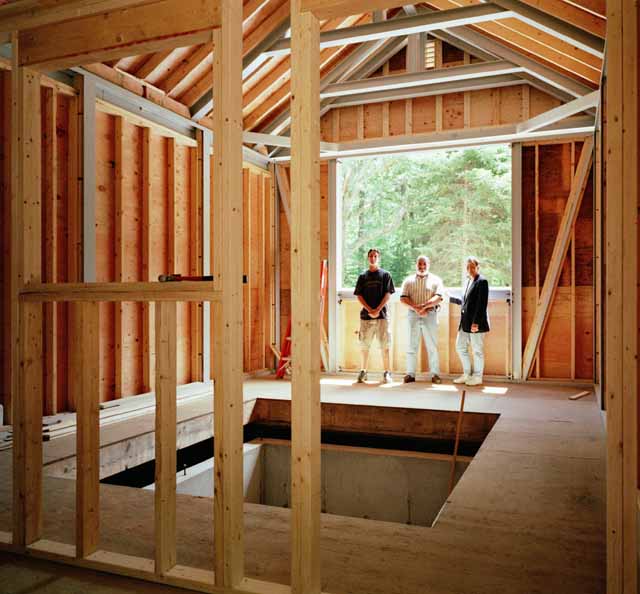
Painting
July 13, a gorgeous day for painting; here's my youger son, Misha, putting a coat
of oil primer over the pre-primed siding, to be followed by a coat or two of latex
solid stain.  You can see the hole for the air-conditioner.

Next -- The Roof Drive System
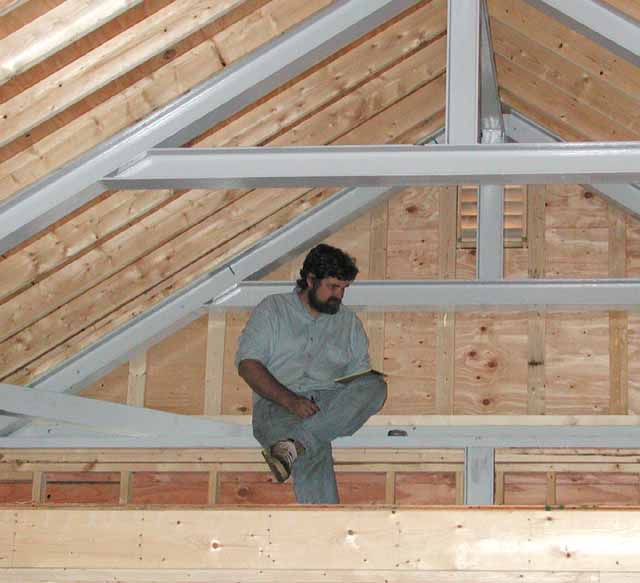
Hmmm...how do we make this 4-ton (or whatever it weighs) roof roll, anyway?
Here's Alan Sliski, a talented optical/computer/electronic/mechanical/hydraulic
jack of all trades, figuring it all out.  The first step was to measure the force,
which he did by rigging up a pulley, and instructing increasing numbers of
astronomers to hang on it until the roof starting rolling; took about 400 pounds!
We'll use a hp-size dc motor with worm reduction, driving a 2" grooved drum on
which winds stainless woven rope; plenty of limit switches, of course!
"The Worm"
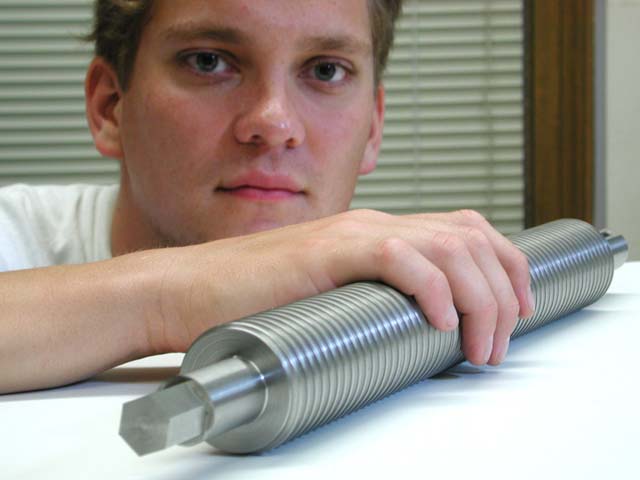
Here it is -- a monolithic stainless-steel worm for Alan's 3/16" stainless woven
cable drive system.  The 4/inch spiral is a half-round 3/16" diameter groove, to
match the cable.  Andrew is looking a bit weary after 3 days in the shop on this
one!  Note the hex pattern on the near end, fodder for a BIG socket wrench in case
the electricity fails and we need to close the roof pronto.  At both ends there's
a 1" smooth section for the bearings, and at the far end you can just see the
keyway for the motor drive.
Making the Roof Move (1 of 6)
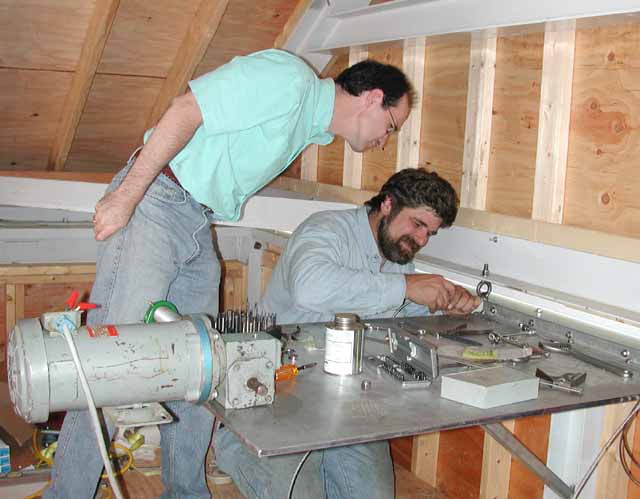
Alan designed a great drive system, with a surplus 3/4-hp dc gearmotor to turn the
worm.  He machined a bunch of parts, and here you can see him grimacing as he bolts
stuff together.  Bob looks on, philosophically.
Making the Roof Move (2 of 6)
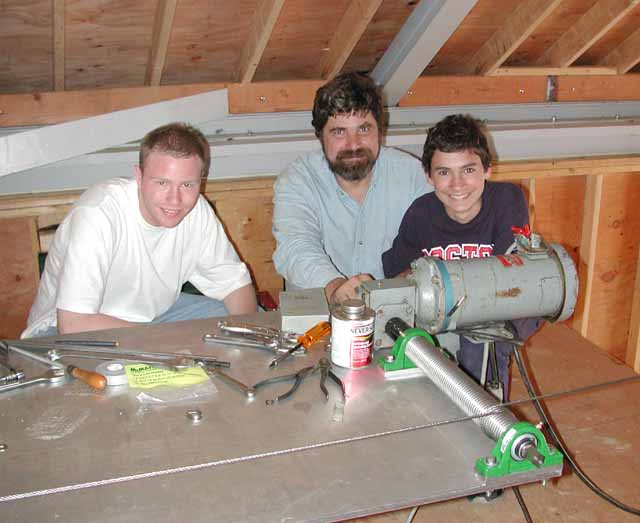
It's ready to go!  It works like this: a woven stainless steel "rope" takes three
turns around the worm, attaching to the roof structure at each end.  The gearmotor
turns the worm, applying the 400 pounds it takes to move the roof.  As the roof
lumbers from one end to the other, the cable walks its way along the worm.  It takes
about a minute and a half to go the whole length.  The hefty hex machined into the
near end of the worm is for emergency manual operation, when a big storm blows
down all the power lines.  That's David (Alan's son) on the right, and Jason (a
newly-arrived physics grad student).
Making the Roof Move (3 of 6)
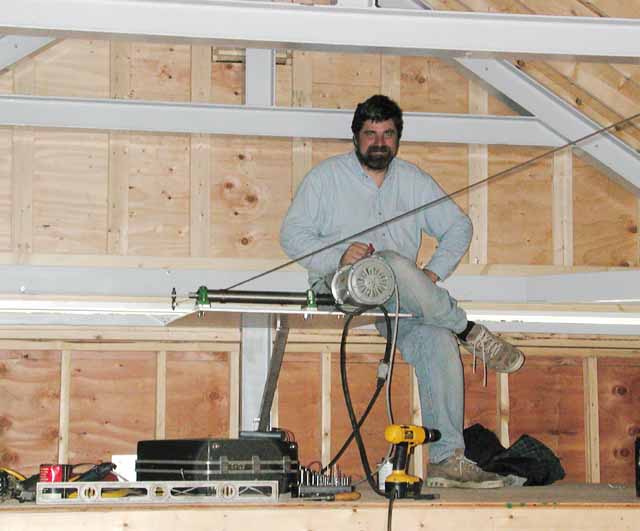
Here's a shot that shows nicely the cable and worm.  Alan is showing off how strong
the metalwork is.
Making the Roof Move (4 of 6)
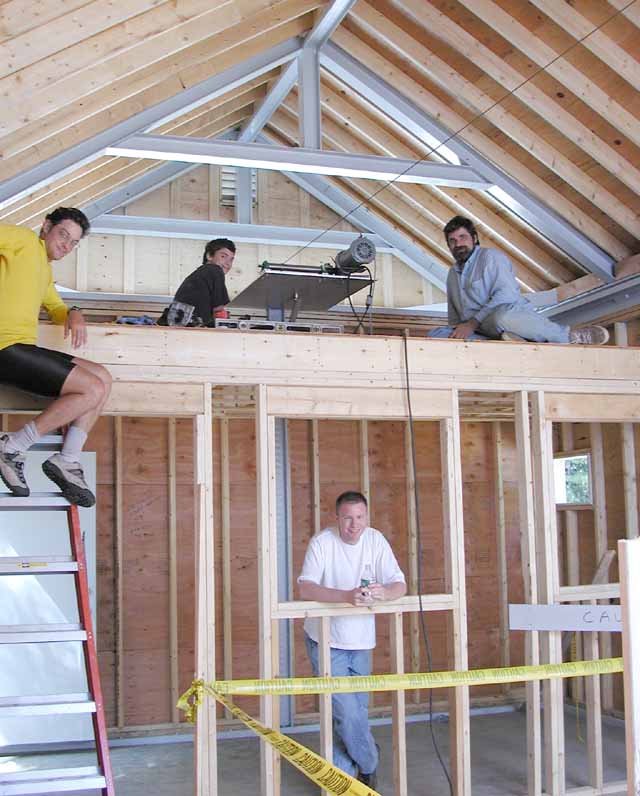
And this shot, taken from the telescope area, gives a bit more perspective:  You can
see the not-yet-finished control room, and lots of happy folks posing.  Chip, just
back from a cross-country bike journey, is propped on the ladder; Jason is nicely
framed in pine; David and Alan have the high ground.
Making the Roof Move (5 of 6)
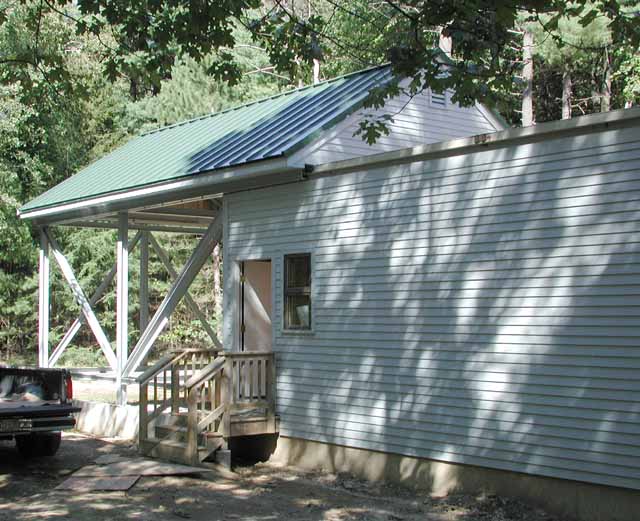
It works!!  Here's the roof, driven to its "observing mode" north limit by the new
drive system.  It's Sunday, September 2, 2001, Labor Day weekend.  Took about two
hours, total, to install and test it.  Murphy-be-gone: no glitches at all.
Making the Roof Move (6 of 6)
And here is the roof in its "crane mode" -- we extended the rails, and drive system,
so the roof can be used as a crane (Nate Hazen's nice idea).  That's how we plan to
install the telescope.  In this shot you can see the drive cable.
